CyberPanel
The CyberPanel One-Click Image is a next-generation hosting control panel, and it features several innovative performance enhancements, including LiteSpeed's popular LSCache optimization plugin.
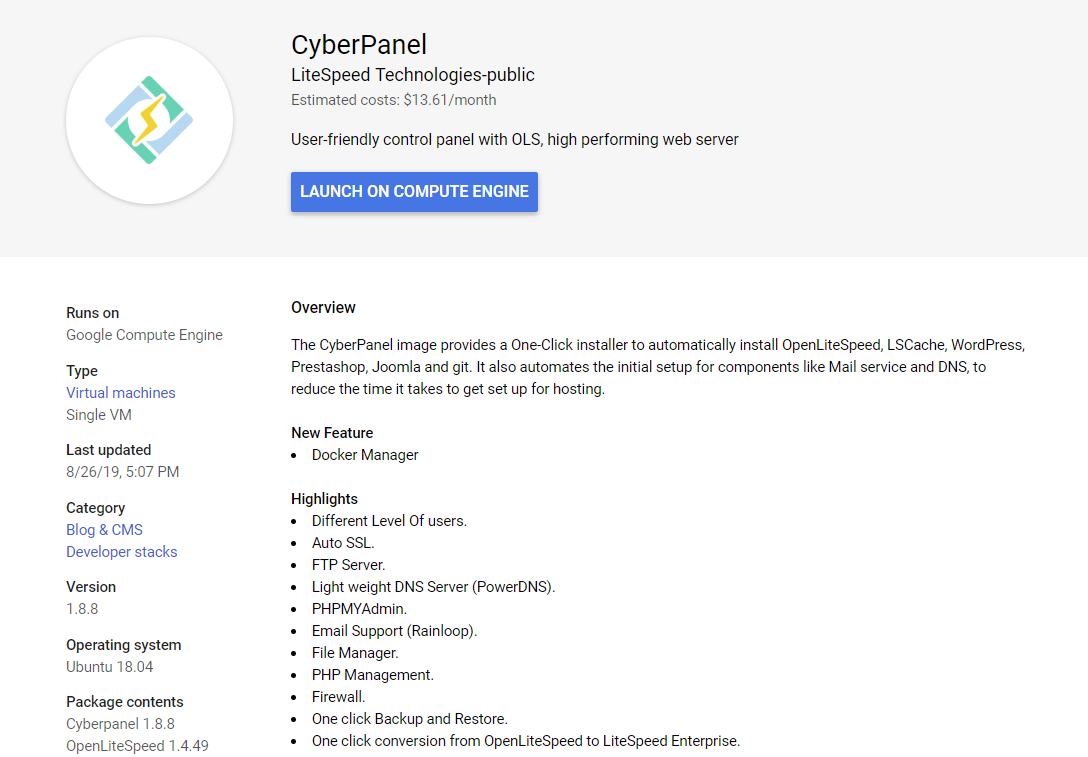
CyberPanel provides a One-Click installer to automatically install OpenLiteSpeed, LSCache, WordPress, Prestashop, Joomla and git. It also automates the initial setup for components like Mail service and DNS, to reduce the time it takes to get set up for hosting.
Quick Start
Platforms
DigitalOcean
Use the CyberPanel 1-Click App to create a Droplet with any plan you want. Click here to create an account and get a $100 Digital Ocean credit.
Amazon Web Services(AWS)
Method 1. Through Subscribe
- Subscribe CyberPanel from MarketPlace
- Click
Continue to LaunchandLaunch
Method 2. Through EC2 console
- Open the Amazon EC2 console
- Locate the product by searching "CyberPanel" from AWS Marketplace
- Click Select,Continue,Preview and launch (the default is the most recent version)
Google Cloud Platform (GCP)
Not Support yet!
1. Login to the Google Cloud Platform and click Launch a VM instance on Compute Engine.
Linode
Use the "CyberPanel StackScripts" to create a server with any plan you want. Click here to create an account
Alibaba Cloud
Use the "CyberPanel" from Marketplace to create an ECS instance with any plan you want.
Your system is installed and ready to use!
Tip
OpenLiteSpeed and LSCache are a powerful combination for your WordPress site, right out of the box. In addition, LSCache offers a variety of optimization features that can contribute to a superior PageSpeed score for your site. Learn more about the LSCache plugin's settings.
Components
The CyberPanel One-Click Image installs several packages.
System Package Installation
| Component | Version |
|---|---|
| Linux | Ubuntu 18.04.1 |
| CyberPanel | Latest from CyberPanel Repo |
Other Built-in Packages
| Component | Function |
|---|---|
| OpenLiteSpeed | Performance Web Server |
| phpMyAdmin | Administration of MySQL over the Web |
| PowerDNS | Lightweight DNS Server |
| Pure-FTPd | Secure + High flexibility FTP server |
| ACME Client | Automatic Certificate Deployment |
| Rainloop | Performance Email Client |
How to Access the Installed Software
SSH Access
From a terminal on your local computer, connect to the server as root, like so:
ssh root@use_your_server_ip
AWS
ssh ubuntu@use_your_server_ip
GCP
USER specifies the username with which to SSH, you can get information from PATH:ssh USER@INSTANCE
Google Cloud Platform > Project > Compute Engine > Metadata > SSH Keys > Username
Be sure to substitute the server's IP address for use_your_server_ip.
Logging In to CyberPanel
To log in to CyberPanel, open your web browser, and open the following address:
https://<host-name-or-IP>:8090
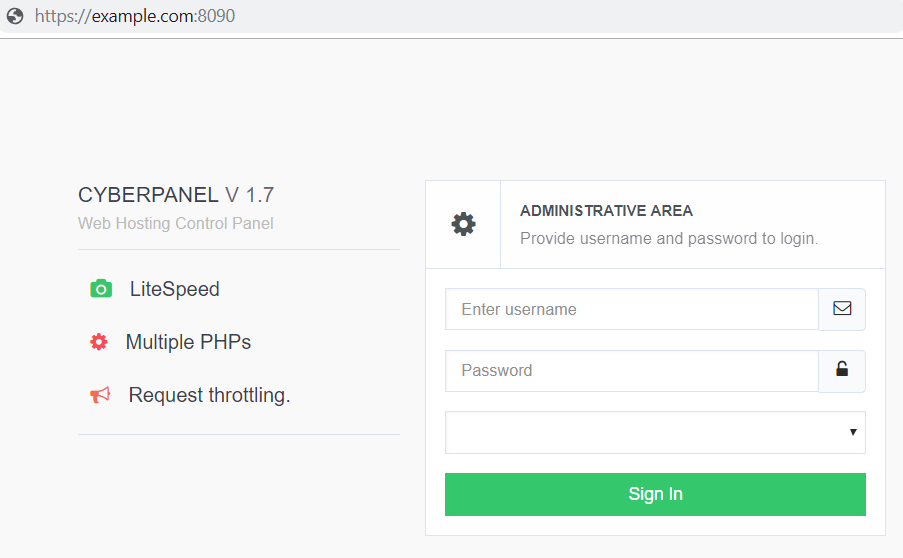
Select the desired interface language and type in your username and password to log in to CyberPanel.
By default, your username is admin and you can get your password from:
sudo cat .litespeed_password
Logging In to phpMyAdmin
Connect to phpMyAdmin at the following URL:
https://<host-name-or-IP>:8090/phpmyadmin
sudo sed -n 2p .db_password
CyberPanel Functionalilty Explained
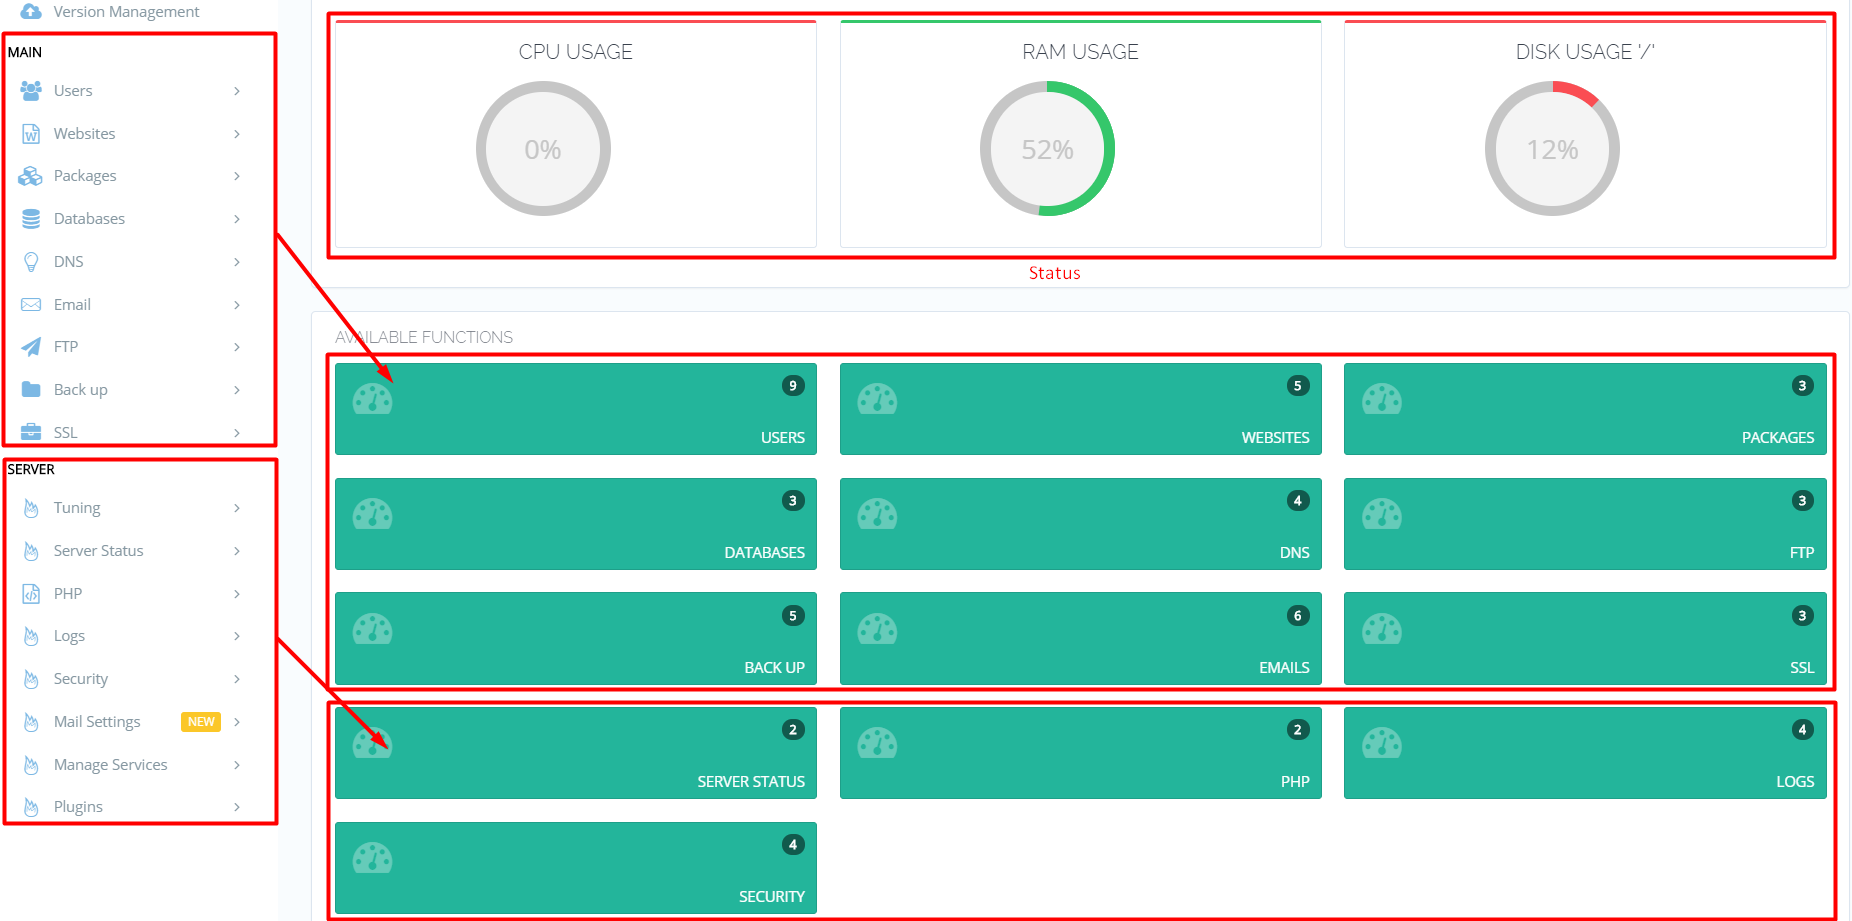
Main Page View
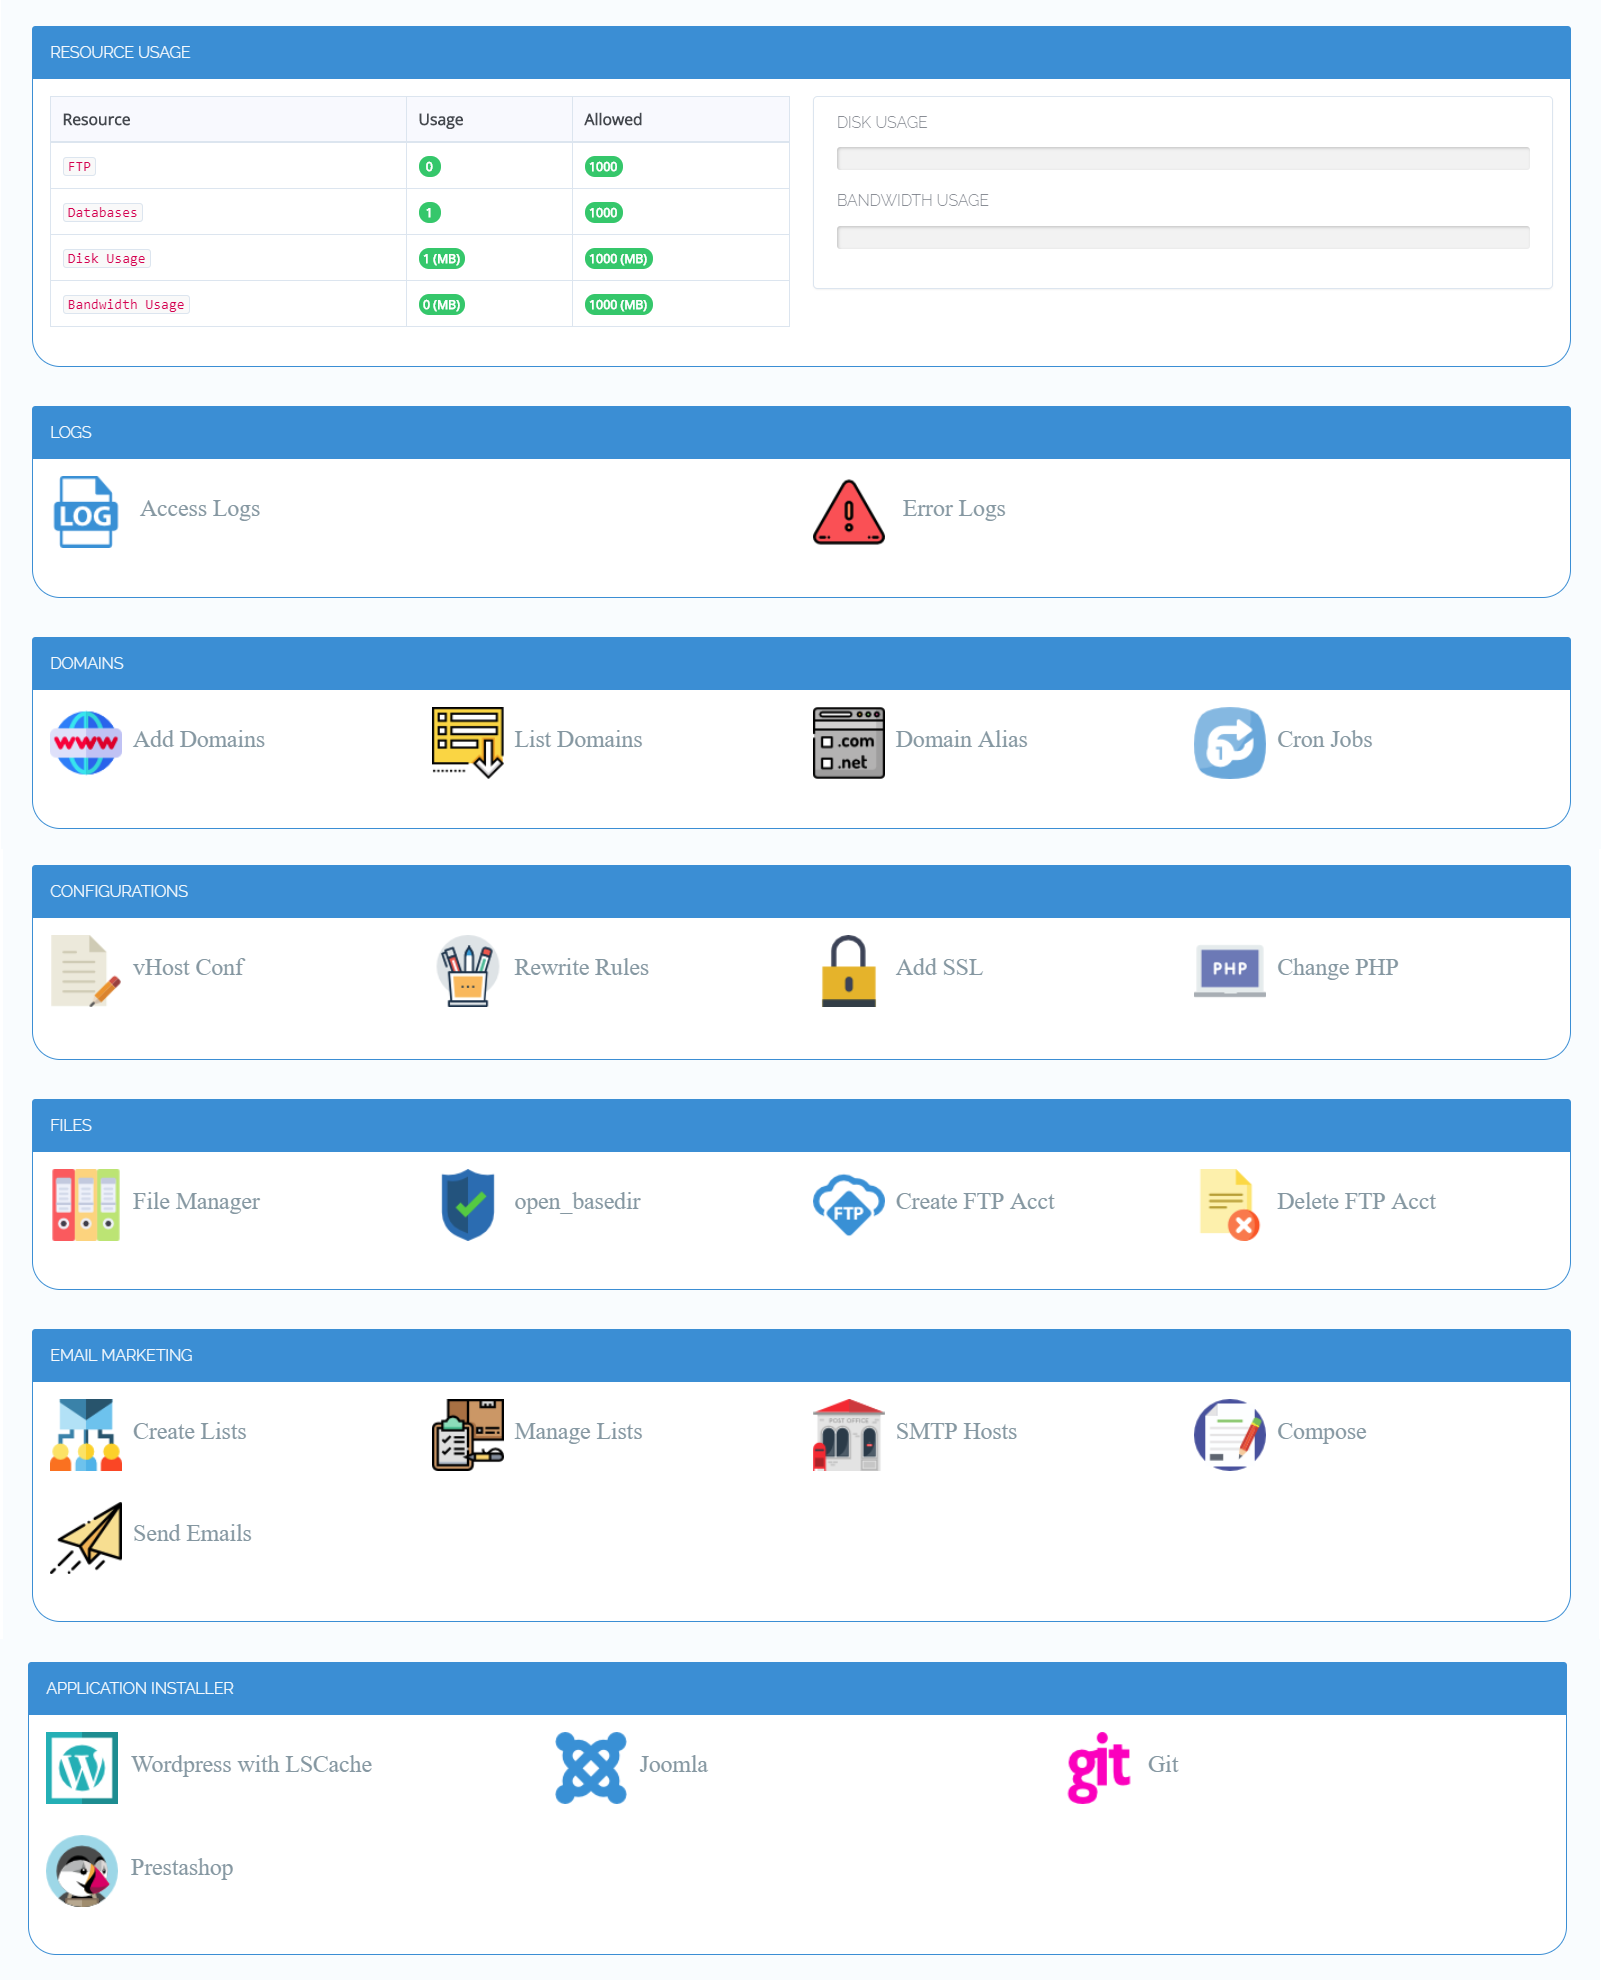
Website Page View
ACL for CyberPanel's Main Functions
| Functions | Admin | Reseller | User |
|---|---|---|---|
| Version Management | V | ||
| User Management | V | V | |
| Website Management | V | V | |
| Package Management | V | V | |
| Database Management | V | V | V |
| DNS Management | V | V | V |
| Email Management | V | V | V |
| FTP Management | V | V | V |
| Backup Management | V | V | |
| SSL Management | V | V | V |
| Server Tuning | V | ||
| Server Status | V | ||
| PHP Extension | V | ||
| Logs | V | ||
| Security | V | ||
| Mail Settings | V | ||
| Manage Services | V | ||
| Plugins | V |
Optional Setup
One Click Application Installer - WordPress
- Create a website with your domain
- Main > Websites > List Websites > Launch
- Scroll down to the APPLICATION INSTALLER
- Click
WordPress with LSCache - Enter the Information:
- Blog Title:
LS-DEMO - Login User:
admin - Login Password:
yourpassword - Email:
demo@example.com - Path:
wordpress
- Blog Title:
- Installation complete. Visit:
http://yourdomain/wordpress
Frequently Asked Questions
How do I Migrate Wordpress?
Please see Methods for Migrating WordPress.
How do I Upgrade from OLS to LSWS Enterprise?
- Get a license from the LiteSpeed Store
- Navigate to CyberPanel > Server > Server Status > LiteSpeed Status
- Enter the serial key and click Switch
For more information, please see CyberPanel's documentation
How do I Upgrade CyberPanel?
Run following commands with root user/permission, if you do not have direct root access, run command sudo su - first.
sh <(curl https://raw.githubusercontent.com/usmannasir/cyberpanel/stable/preUpgrade.sh)
How do I Reset My CyberPanel Password?
Run the following command to reset the admin password:
adminPass newpassword
Why did my FTP fail to connect?
Verify that ports 21 and 40110-40210 are allowed at the network firewall level. By default, they should already be allowed for each image at the system level.
How do I Enable the Crawler Engine with LiteSpeed Enterprise?
Enable globally
Edit /usr/local/lsws/conf/httpd.conf from SSH console. Find <IfModule Litespeed> section:
<IfModule Litespeed>
CacheRoot /home/lscache/
</IfModule>
Update it, adding the line CacheEngine on crawler, like so:
<IfModule Litespeed>
CacheRoot /home/lscache/
CacheEngine on crawler
</IfModule>
Enable for virtual host individualy
Visit CyberPanel at port 8090, then click Manage from Your Websites. Navigate to Configurations > vhost Conf.
Find all <IfModule Litespeed> sections:
Update each one, adding the line<IfModule Litespeed> CacheRoot /home/lscache/ </IfModule>CacheEngine on crawler, like so:<IfModule Litespeed> CacheRoot /home/lscache/ CacheEngine on crawler </IfModule>
API Creation
DigitalOcean
In addition to creating a Droplet from the CyberPanel 1-Click application using the control panel, you can also use the DigitalOcean API.
The following example creates an OpenLiteSpeed WP 18.04 Droplet called “My-Droplet” in the NYC3 datacenter, with 1 GB RAM:
curl -X POST "https://api.digitalocean.com/v2/droplets" \
    -d'{"name":"My-Droplet","region":"nyc3","size":"s-1vcpu-1gb","image":"cyberpanel-18-04"}' \
    -H "Authorization: Bearer $TOKEN" \
    -H "Content-Type: application/json"
AWS
In addition to creating an instance from the WordPress with LiteSpeed Cache using the AWS Management Console, you can also use the AWS Command Line Interface.
The following example creates an t2.micro Instance with WordPress+LiteSpeed Cache AMI:
Please replace XXX to your own settings.aws ec2 run-instances --image-id ami-05c96807bc88d9694 \ --subnet-id subnet-XXXXXXX \ --security-group-ids sg-XXXXXXXXXXXXXX \ --count 1 \ --instance-type t2.micro \ --key-name XXXXXX \ --query "Instances[0].InstanceId"
GCP
Get the exact name of the CyberPanel image from LiteSpeed's project, gc-image-pub:
gcloud compute images list --project=gc-image-pub --filter="name ~ 'cyberpanel'"
Create an instance, replacing INSTANCE_NAME with the name of your choice, and IMAGE_NAME with the name obtained from the previous command:
gcloud compute instances create INSTANCE_NAME --image-project=gc-image-pub --image=IMAGE_NAME
Tip
This request, like any other request that makes a change to your account, requires that your token has "write" scope assigned to it.